Field of Appflication
- Measurement of flow velocities and turbulent flow variables
- High temporal resolution for the measurement of highly turbulent flows
- Small measurement volume enables the resolution of very small vortex structures
Description
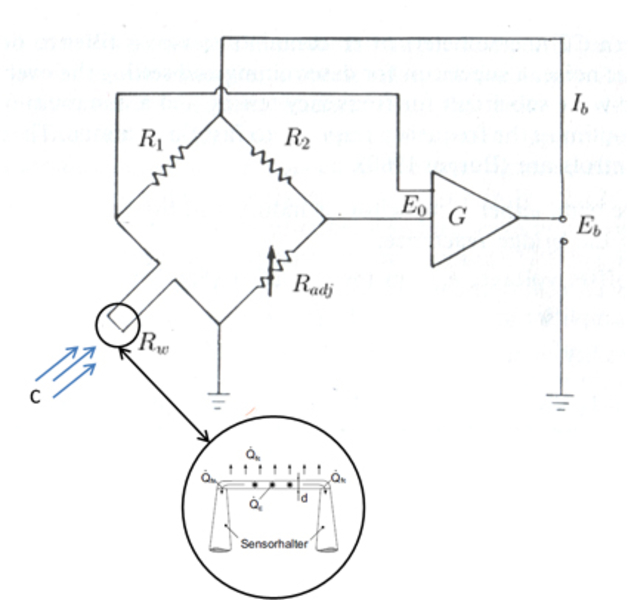
The measuring principle of hot-wire anemometry is based on the temperature dependence of the ohmic resistance of a metallic sensor which is electrically heated and around which a fluid flows. This causes a convective heat transfer between the wire and the fluid. This heat transfer leads to a change in the ohmic resistance of the wire, which is detected by an electrical circuit and related to the flow velocity.
Generally, hot-wire anemometry is divided into two circuit variants: Constant Current Anemometer (CCA) and Constant Temperature Anemometer (CTA). The CTA is used on the TFD. Here, the electrical resistance of the wire is kept constant by regulating the supply voltage using a Wheatstone bridge circuit. Thus, the temperature of the wire remains constant, despite the heat dissipation by the flowing fluid. Thus, the flow velocity can be determined indirectly via the supply voltage. Due to the high temporal resolution, the turbulent flow variables can also be recorded. The use of multi-wire probes allows the flow velocity to be determined for all three spatial directions.
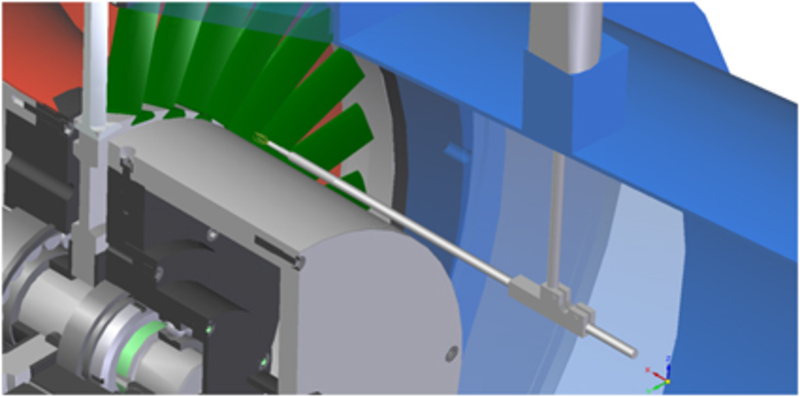
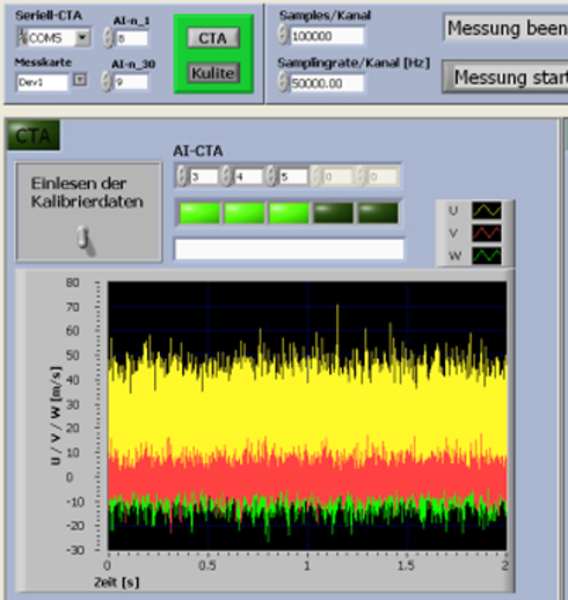
The CTA system of the TFD is a mobile measuring device and can therefore be used at any test stand. Currently, 3D hot-wire probes are mainly used at TFD's axial diffuser test rig to investigate the unsteady flow field in a diffuser. Furthermore, hot-wire probes are used for turbulence degree determination at the air turbine test rig.
Contact


30823 Garbsen


